How to unclog a 3D printer nozzle is a common question among 3D printing enthusiasts. A clogged nozzle can be frustrating, but it’s usually a solvable problem. Whether it’s caused by overheating, incorrect filament, or simply needing a good cleaning, this guide will equip you with the knowledge and techniques to get your prints flowing smoothly again.
We’ll explore basic cleaning methods like using a needle or wire, and more advanced techniques involving specialized tools, solvents, and even nozzle removal. By understanding the common causes of clogs and the best cleaning approaches, you’ll be able to prevent future clogs and keep your 3D printer running efficiently.
Identifying the Clog

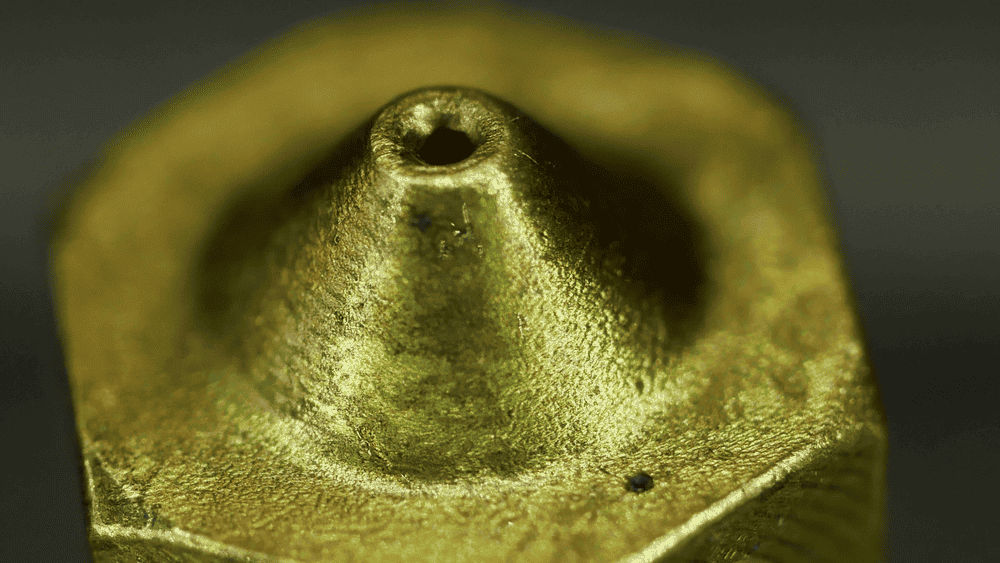
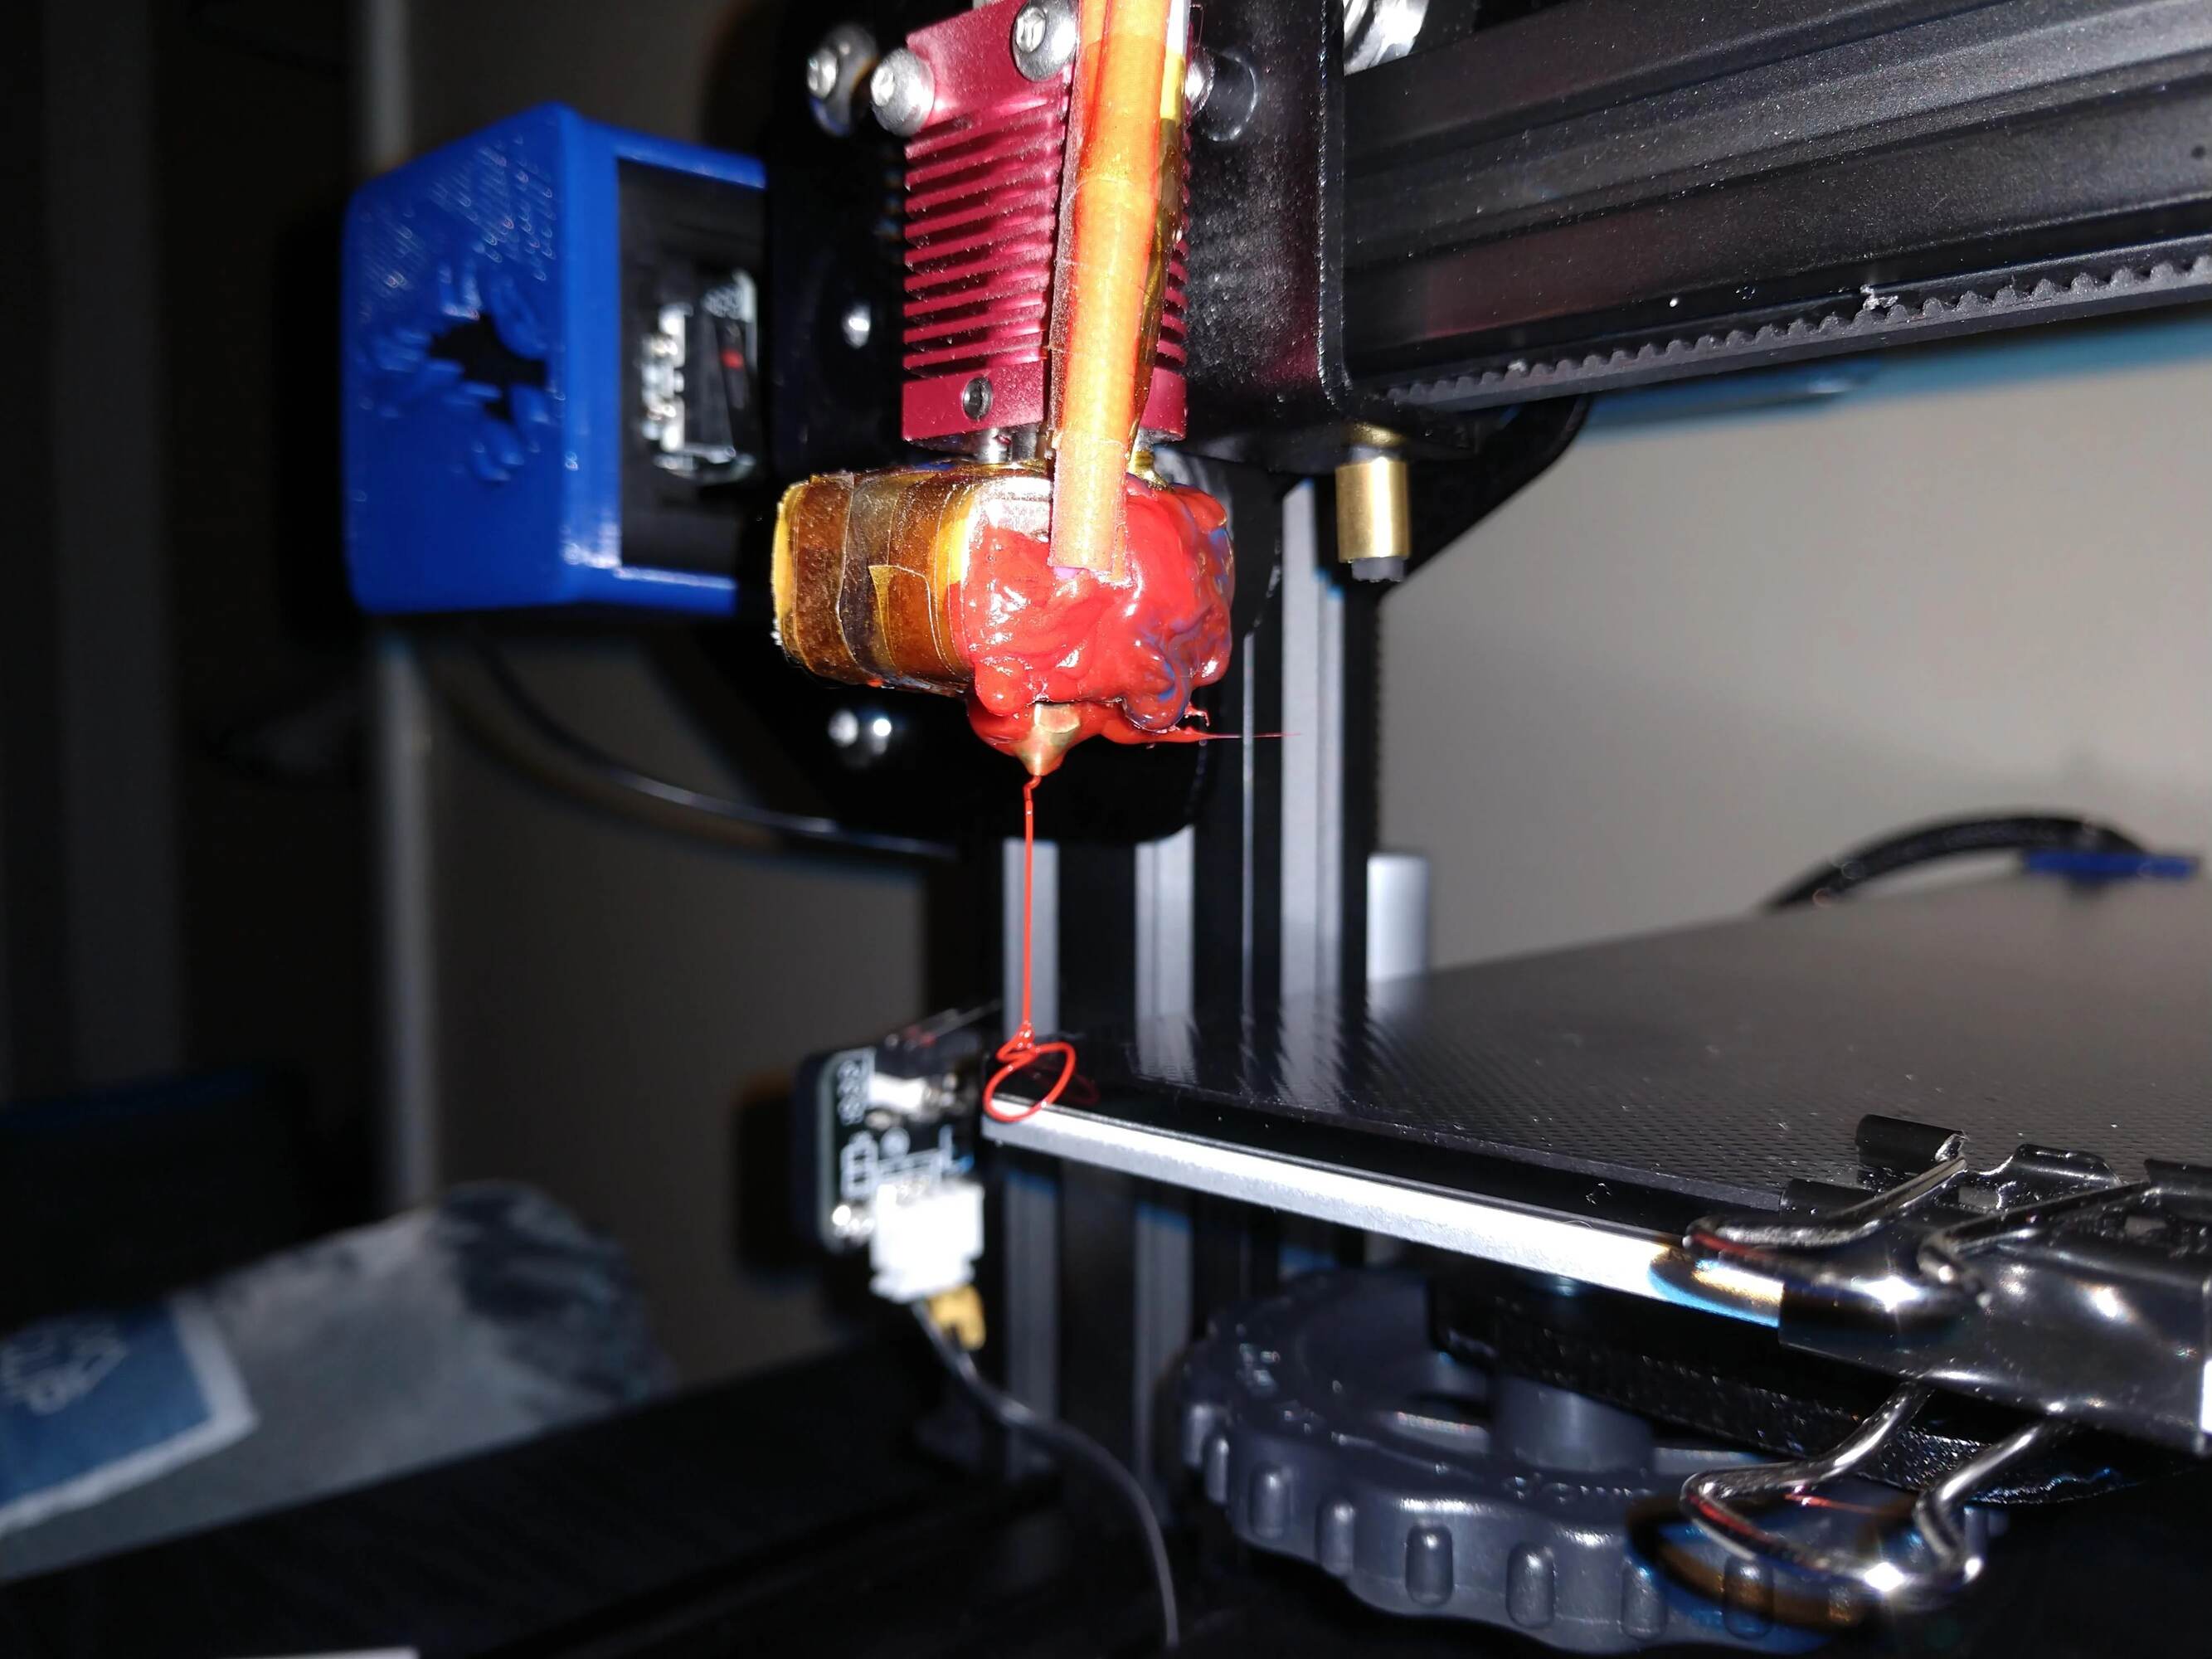
A clogged nozzle is a common problem for 3D printer users. It can be frustrating and time-consuming to deal with, but with a little knowledge and patience, you can usually get your printer back up and running in no time.
The first step to unclogging a nozzle is to identify the problem.
Signs of a Clogged Nozzle
There are a few telltale signs that your nozzle is clogged.
- Filament not extruding: This is the most obvious sign of a clog. If you try to extrude filament, but nothing comes out, your nozzle is likely clogged.
- Clicking noises: If you hear clicking noises coming from your extruder, it could be a sign that the filament is getting stuck in the nozzle.
- Poor print quality: If your prints are coming out with gaps, holes, or other defects, a clogged nozzle could be the culprit.
Causes of Nozzle Clogs
Nozzle clogs can be caused by a variety of factors.
- Overheating: If your nozzle is too hot, it can melt the filament too much, causing it to stick to the inside of the nozzle.
- Incorrect filament type: If you’re using a filament that’s not compatible with your nozzle, it could cause a clog.
- Improper nozzle maintenance: If you don’t clean your nozzle regularly, it can become clogged with debris.
Basic Cleaning Methods

Once you’ve identified the clog, it’s time to tackle it. There are several basic methods you can use to clear a clogged nozzle, ranging from simple to more involved.
Cleaning with a Needle or Wire
This is a straightforward method for removing loose debris or filament fragments from the nozzle.
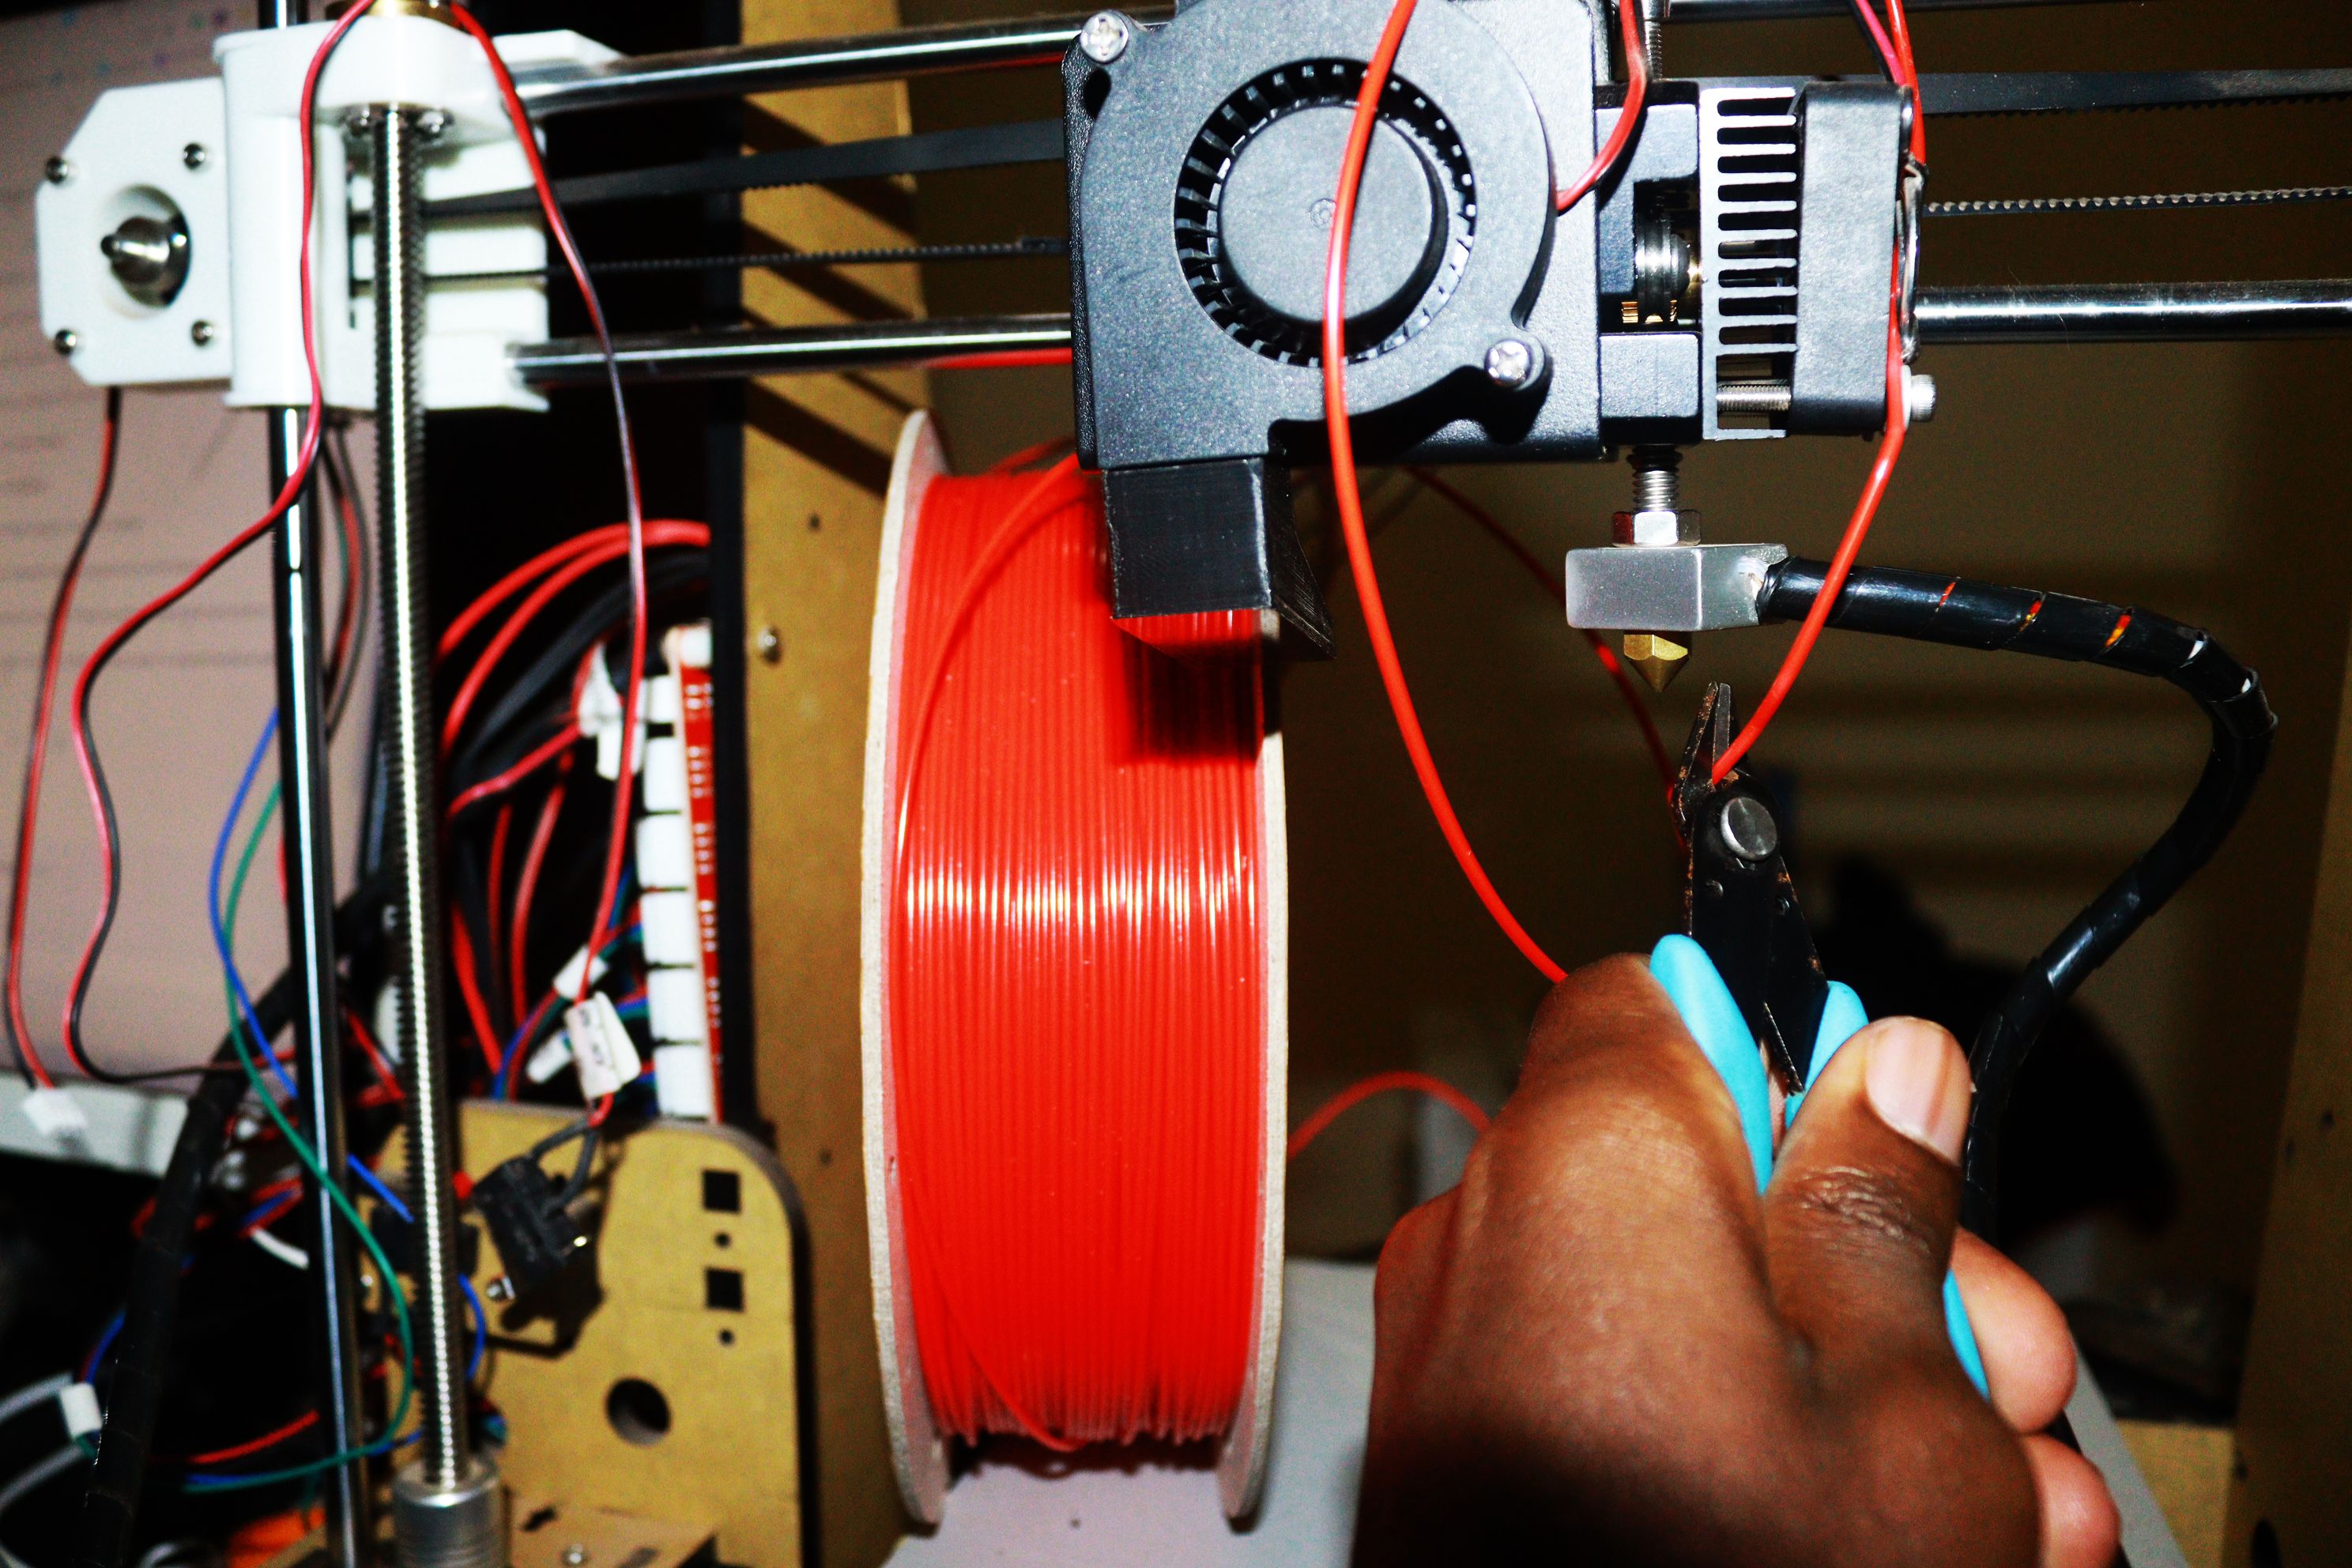
- Gather your tools:You’ll need a fine-gauge needle or a thin wire (like a paperclip) and a pair of pliers.
- Heat the nozzle:Before attempting to clean the nozzle, heat it up to the printing temperature. This will soften any filament that might be stuck inside.
- Insert the needle or wire:Carefully insert the needle or wire into the nozzle opening. Use gentle, twisting motions to dislodge any debris.
- Clean the nozzle:Remove the needle or wire and inspect it for any debris. Repeat the process as needed until the nozzle is clear.
Using Filament to Unclog the Nozzle
This method works by using a new piece of filament to push out the clog. It’s a good option for clogs that are relatively close to the nozzle opening.
- Choose the right filament:Use a filament that is the same diameter as your nozzle. A softer filament, like PLA, is easier to push through the nozzle.
- Heat the nozzle:Heat the nozzle to the printing temperature.
- Insert the filament:Carefully insert the new filament into the nozzle. You may need to apply some force to push it through.
- Extrude the filament:Once the filament has entered the nozzle, extrude it through the hot end. This will help to push out any remaining clog.
Using a Heat Gun or Hairdryer
A heat gun or hairdryer can be used to soften the clog and make it easier to remove. This method is best for stubborn clogs that don’t respond to other cleaning methods.
- Heat the nozzle:Direct the heat gun or hairdryer onto the nozzle, focusing on the area where the clog is located. Be careful not to overheat the nozzle.
- Apply gentle pressure:Once the clog has softened, try to push it out with a needle or wire. You may need to repeat the heating process several times.
- Clean the nozzle:Once the clog is removed, clean the nozzle thoroughly with a needle or wire.
Advanced Cleaning Techniques

Sometimes, basic cleaning methods might not be enough to remove stubborn clogs. In such cases, advanced techniques come into play. These methods involve using specialized tools, solvents, or a combination of both to effectively clear the clog.
Nozzle Cleaning Tools and Kits
Nozzle cleaning tools and kits offer a convenient and efficient way to remove clogs. These tools are designed to fit snugly into the nozzle and dislodge the blockage.
- Benefits:These tools are usually easy to use, requiring minimal effort and time. They are also relatively inexpensive and readily available.
- Drawbacks:Some tools might not be compatible with all nozzle sizes or might not reach deep-seated clogs. Additionally, repeated use can potentially damage the nozzle.
Using Solvents or Chemical Cleaners
Solvents and chemical cleaners can effectively dissolve clogs, particularly those caused by plastic or resin build-up. However, it’s crucial to exercise caution when using these substances.
A clogged nozzle can be a real pain, but don’t worry, it’s a common issue. Sometimes, all you need is a good cleaning with a needle or a bit of filament. If you’re printing with resin, you might also want to check out how long do resin 3d prints last at max level to make sure your prints are lasting as long as they should.
Once you’ve got that figured out, you can get back to tackling that clogged nozzle!
- Safety Precautions:Always wear gloves and eye protection when handling solvents. Ensure adequate ventilation and avoid contact with skin or eyes. Consult the product’s safety data sheet for specific instructions and warnings.
- Solvent Selection:The choice of solvent depends on the material being used for printing. For example, acetone is commonly used for ABS plastic, while isopropyl alcohol is suitable for PLA. Consult your printer’s manual or the filament manufacturer’s recommendations for the appropriate solvent.
- Application:Carefully apply a small amount of solvent to the clogged nozzle. Allow it to sit for a few minutes to dissolve the clog. Gently push the filament through the nozzle to remove the dissolved material. Repeat the process if necessary.
Removing and Cleaning the Nozzle Separately, How to unclog a 3d printer nozzle
In some cases, the clog might be deep-seated and require removing the nozzle for cleaning.
- Process:First, heat up the nozzle to soften the clog. Then, carefully unscrew the nozzle from the hot end using a wrench. Once removed, clean the nozzle thoroughly using a cleaning tool, solvent, or a combination of both. Ensure all traces of the clog are removed before reattaching the nozzle to the hot end.
Preventing Clogs: How To Unclog A 3d Printer Nozzle

A clogged nozzle is a frustrating problem for 3D printing enthusiasts, but with a few simple precautions, you can minimize the risk of clogs and ensure smooth printing.
Regular Nozzle Maintenance
Regular nozzle maintenance is crucial for preventing clogs. It’s recommended to clean your nozzle after each print session. Here are some essential tips for maintaining your nozzle:
- Clean the nozzle after each print:After every print, use a brass brush or a small metal scraper to remove any filament residue from the nozzle tip. This prevents buildup that can lead to clogs.
- Inspect the nozzle for wear:Over time, the nozzle tip can wear down. Check for any signs of wear or damage and replace the nozzle if necessary. A worn-out nozzle can lead to inconsistent filament flow and eventually, clogs.
- Use a nozzle cleaning tool:Nozzle cleaning tools, such as a filament puller or a nozzle cleaning needle, can help remove stubborn clogs and ensure a clean nozzle tip.
Choosing the Right Filament Type
Different filament types have varying properties that can affect their propensity to clog.
- Filament diameter:Always use filament that matches the specified diameter for your printer. A filament that is too thick or too thin can cause feeding issues and clogs.
- Moisture content:Moisture can affect filament flow and lead to clogs. Store filament in airtight containers with desiccant packs to prevent moisture absorption.
- Filament quality:Use high-quality filament from reputable manufacturers. Low-quality filament can contain impurities or inconsistencies that can cause clogs.
Adjusting Printing Settings
Printing settings can also contribute to clogging.
- Extrusion temperature:The extrusion temperature should be set according to the filament’s specifications. Too low a temperature can cause the filament to stick in the nozzle, while too high a temperature can cause it to melt and solidify too quickly, leading to clogs.
- Retraction settings:Retraction settings control how much filament is pulled back after each print move. Proper retraction settings can prevent filament from oozing out and causing clogs.
- Printing speed:Slower printing speeds give the filament more time to melt and flow through the nozzle, reducing the risk of clogs.
Nozzle Size and Material
The size and material of the nozzle can also affect clogging frequency.
- Nozzle size:Larger nozzles generally have a lower risk of clogging but may produce less detailed prints. Smaller nozzles can create finer details but are more prone to clogs. Choose the nozzle size that best suits your printing needs.
- Nozzle material:Brass nozzles are commonly used for 3D printing, but they can be prone to wear and tear. Hardened steel nozzles are more durable and can withstand higher temperatures, reducing the risk of clogs.
Questions Often Asked
What if my nozzle is still clogged after trying all these methods?
If you’ve exhausted all the methods and your nozzle remains clogged, it might be time to replace it. Check the manufacturer’s recommendations for your specific nozzle type.
Can I use any type of solvent to clean my nozzle?
No, not all solvents are compatible with all nozzle materials. Consult the nozzle manufacturer’s guidelines or a reputable 3D printing resource for compatible solvents.
How often should I clean my nozzle?
It’s a good practice to clean your nozzle every few prints or whenever you notice signs of a clog, such as filament not extruding smoothly or a clicking sound.
