

The WPS PIN on an HP printer is a temporary, eight-digit security code generated by the printer’s firmware to establish a secure wireless connection with your router. You can find this PIN displayed on the printer’s LCD control panel during the wireless setup process, or printed on a network configuration page if your printer does not have a screen. Because this security code is dynamic, it changes every time you request a new connection and typically expires within two to five minutes of generation.
Connecting your printer to a wireless network using Wi-Fi Protected Setup (WPS) is one of the fastest ways to get your office up and running. However, finding the PIN can be confusing, especially since different HP models display or print this information in various ways. Understanding how to locate and use this code will save you time and prevent unnecessary connection headaches.
In this comprehensive guide, we will walk you through the exact steps to locate your WPS PIN across various HP printer lines, including DeskJet, OfficeJet, LaserJet, and Envy models. We will also explore crucial troubleshooting steps for common connection failures, paper jams, and print quality issues to keep your hardware running smoothly.
Locating the WPS PIN on Different HP Printer Models
The method you use to find the WPS PIN depends entirely on the design of your printer’s control panel. HP manufactures both touch-screen models and button-only models, each requiring a slightly different approach to access network settings. Knowing which type of interface your printer has is the first step toward successful configuration.
HP Printers with Touchscreen or LCD Displays
If your HP printer features a graphical display or touchscreen, finding the WPS PIN is relatively straightforward. Start by waking the printer from sleep mode and navigating to the main home screen. From there, look for the wireless icon or navigate to the network settings menu.
Follow these steps to generate the PIN on a touchscreen model:
- Press the Wireless button or icon on the printer control panel.
- Select the Settings icon (often represented by a gear shape).
- Scroll down and tap on Wi-Fi Protected Setup or WPS.
- Select PIN from the options displayed on the screen.
- The eight-digit WPS PIN will appear on the screen, along with a countdown timer.
Make sure you write down this code immediately or enter it into your router’s configuration page right away. If the timer expires before you complete the setup, you will need to repeat these steps to generate a new PIN.
HP Printers Without a Display Screen
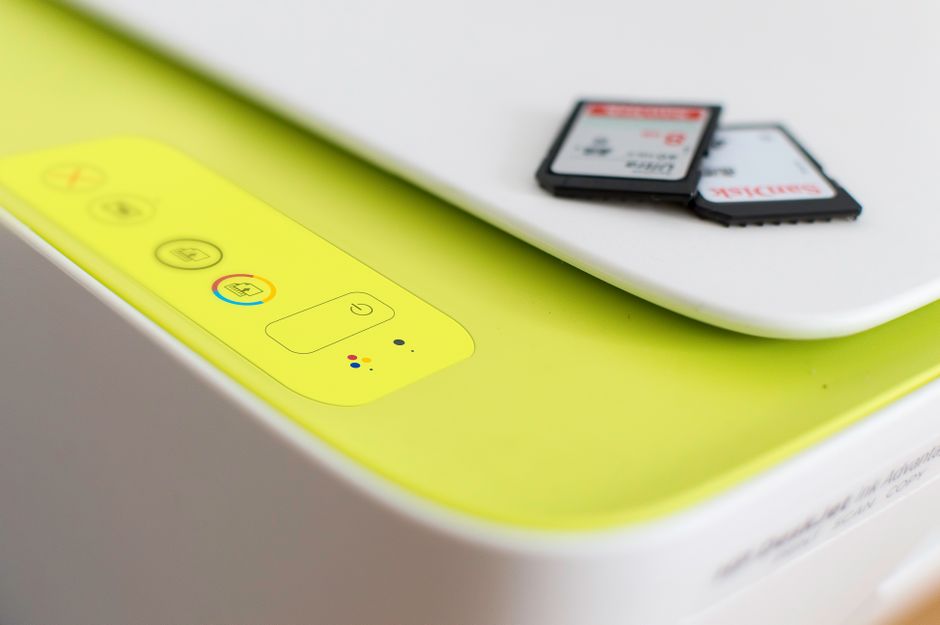
For budget-friendly or compact HP printers that only have buttons and LED indicator lights, locating the WPS PIN requires a different approach. Since these devices cannot display text, they communicate network information by printing physical configuration reports.
To print the page containing your WPS PIN, use the following button combinations:
- Ensure the printer is loaded with plain white paper and is turned on.
- Press and hold the Wireless button and the Information (i) button simultaneously for about three to five seconds.
- On older models, you may need to press and hold the Wireless button and the Cancel (X) button together.
- Release the buttons when the power light begins to flash, indicating the printer is generating a report.
- Retrieve the printed page, which is typically titled the Network Configuration Page or Wireless Network Test Report.
Locate the section labeled “WPS” or “Wi-Fi Protected Setup” on the printed sheet. The active WPS PIN will be listed there, allowing you to proceed with your router connection.
How to Use the WPS PIN to Connect to Your Router
Once you know where is wps pin on hp printer and have successfully generated it, you must enter it into your wireless router’s administrative portal. This process establishes a secure, encrypted handshake between the two devices without requiring your standard Wi-Fi password. It is an excellent alternative when you want to avoid typing long passwords on small printer screens.
To use the PIN, open a web browser on a computer or mobile device that is already connected to your home or office network. Type your router’s IP address (commonly 192.168.1.1 or 192.168.0.1) into the address bar to access the login page. Enter your router’s administrative username and password, which can usually be found on a sticker on the bottom of the router itself.
Once logged in, navigate to the wireless settings, security settings, or WPS section of the router’s interface. Look for an option that says “Add WPS Client” or “Enter WPS PIN.” Input the eight-digit code generated by your HP printer and click “Connect” or “Register.” The router and printer will begin communicating, and within a minute, the wireless light on your printer should turn solid blue, indicating a successful connection.
Common Printer Issues & Quick Fixes
Even after successfully configuring your network settings, you may encounter operational hurdles. Printers are complex machines that rely on a delicate balance of software, hardware, and network protocols. Understanding how to address these issues quickly can save you hours of frustration.

Printer Offline or Not Connecting
One of the most frequent complaints from users is that their printer suddenly stops communicating with their computer. If you are asking yourself why is my printer offline, the culprit is often a broken network handshake, an IP address conflict, or a sleeping device that failed to wake up. Resolving this issue usually requires a systematic approach to check both physical and digital connections.
Begin by power cycling your entire network setup. Turn off your printer, unplug your router for thirty seconds, and restart your computer. Once the router is fully booted, turn the printer back on and check if the wireless status light is solid. If the connection remains broken, you may need to assign a static IP address to your printer through its web interface to prevent the router from changing its address over time.
Additionally, check your computer’s print queue. On Windows, navigate to Settings, select Devices, and click on Printers & Scanners. Select your HP printer, open the queue, and ensure that “Use Printer Offline” is not checked in the printer menu. Clearing stuck print jobs from the queue can also refresh the communication path and bring the device back online.
How to Clear Paper Jams Safely
Paper jams are an inevitable part of printing, but handling them incorrectly can cause permanent damage to internal components. Modern printers contain delicate sensors, gears, and rollers that can easily bend or snap under excessive force. Always approach a paper jam with patience and care.
To clear a jam safely, follow these steps:
- Turn off the printer and unplug it from the power source to avoid electrical hazards.
- Open all access doors, including the main cartridge access door and the rear clean-out door.
- Look closely inside the paper path for any stuck sheets, scraps, or foreign objects.
- Grasp the jammed paper firmly with both hands and pull it slowly and evenly in the direction of the normal paper path.
- Avoid pulling the paper at an angle, as this increases the likelihood of tearing the sheet and leaving small scraps behind.
Once the paper is removed, check the paper tray for overloaded sheets or misaligned paper guides. Slide the guides snugly against the paper stack without bending it, close all access panels, and plug the printer back in. The device will run a self-test and should return to a ready state.
Fixing Poor Print Quality (Fading, Streaks)
Poor print quality can ruin important documents and waste expensive ink or toner. If your prints look faded, contain horizontal streaks, or suffer from missing colors, the issue is likely related to the printhead or toner distribution. The solution varies depending on whether you own an inkjet or a laser printer.
For inkjet printers, clogged nozzles are the most common cause of streaking. Access your printer’s maintenance menu via the control panel or the HP Smart app and run a “Clean Printhead” cycle. This process forces a small amount of ink through the nozzles to clear away dried residue. You may need to run this cycle two or three times for stubborn clogs, but avoid doing it excessively, as it consumes a significant amount of ink.
For laser printers, fading is often caused by uneven toner distribution within the cartridge. Remove the toner cartridge from the printer and gently rock it back and forth horizontally several times. This redistributes the toner powder inside the hopper, which can temporarily resolve fading and extend the life of the cartridge. If the issue persists, inspect the imaging drum for scratches or debris and replace the cartridge if necessary.

Advanced Troubleshooting
When basic troubleshooting steps fail to resolve connection or performance issues, you must look deeper into the software environment. Operating system updates, firmware bugs, and corrupted system files can prevent your computer from communicating effectively with your HP printer.
Driver Updates & Reinstallation
Printer drivers act as the essential translator between your computer’s operating system and your printer’s physical hardware. Over time, these files can become corrupted due to system crashes or conflicts with other software. Keeping your drivers updated is critical for maintaining compatibility and security.
To reinstall your HP printer drivers for a clean start, follow this procedure:
- Disconnect the printer from your computer (if using a USB connection).
- In Windows, search for and open Apps & Features, then uninstall any software related to your HP printer.
- Open the Control Panel, go to Devices and Printers, right-click your printer icon, and select Remove Device.
- Restart your computer to clear out any cached system files.
- Go to the official HP Support website, enter your printer model, and download the latest full-feature driver package.
- Run the installer and follow the on-screen prompts, only reconnecting your printer when instructed by the software.
If you prefer a mobile-first setup, you can use the HP Smart app available on Windows, macOS, iOS, and Android. The app automatically detects compatible printers on your network and downloads the necessary driver packages in the background, simplifying the installation process.
When to Call Support vs. Buy New
Every printer has a finite lifespan, and there comes a point where repairing an old machine is no longer financially practical. Understanding the difference between a simple software glitch and a terminal hardware failure will save you money in the long run.
You should consider calling HP support or seeking professional repair if the printer is relatively new, under warranty, or experiencing a localized issue. Problems like a broken scanner glass, a faulty paper feed roller, or minor firmware errors are often worth fixing. Additionally, high-end commercial office printers are usually worth repairing due to their high initial purchase price.
On the other hand, it is often better to buy a new printer if you own a budget inkjet model that is several years old. Replacement printheads, fuser assemblies, and logic boards can cost more than a brand-new printer. Furthermore, newer models offer improved energy efficiency, faster print speeds, and better compatibility with modern operating systems and cloud services. If the cost of repair exceeds 50% of the price of a comparable new model, replacement is generally the smartest path forward.
Frequently Asked Questions
Where is the WPS PIN on an HP printer without a screen?
On HP printers without a display screen, you must print a Network Configuration Page to find the WPS PIN. Press and hold the Wireless and Information buttons simultaneously for a few seconds to generate this report. The PIN will be printed in the network settings section of the sheet.
Why does my HP printer keep asking for a WPS PIN?
Your computer or router asks for a WPS PIN when it attempts to establish a secure wireless connection with the printer. This security protocol ensures that unauthorized devices cannot join your network or access your printer. Simply generate the PIN on your printer and enter it into the requesting device within the time limit.
Is the WPS PIN the same as my Wi-Fi password?
No, the WPS PIN is not the same as your Wi-Fi password (WPA/WPA2 key). The Wi-Fi password is static and set by you or your internet service provider, while the WPS PIN is a temporary, auto-generated eight-digit code used only during the initial setup process.
How long is the HP printer WPS PIN valid?
The WPS PIN generated by an HP printer is only valid for a short window, typically two to five minutes. If you do not enter the PIN into your router or computer within this timeframe, the code will expire for security reasons, and you will need to generate a new one.
Can I connect my HP printer to Wi-Fi without a WPS PIN?
Yes, you can connect your HP printer using alternative methods. You can use the HP Smart app on a computer or mobile device, connect via a standard USB cable temporarily to transfer wireless settings, or use the WPS Push Button method if your router has a physical WPS button.
Conclusion
Locating and using the WPS PIN on your HP printer is a highly effective way to establish a secure wireless connection. Whether your printer features an interactive touchscreen or relies on physical button combinations to print a configuration page, the process is designed to protect your network security. By following the steps outlined in this guide, you can quickly bridge the connection between your printing hardware and your local network.
Remember that network connectivity is only one aspect of printer maintenance. Keeping your drivers updated, clearing paper jams safely, and maintaining printhead health will extend the lifespan of your machine and ensure consistent, high-quality documents. When hardware issues become too costly or frequent, do not hesitate to evaluate the benefits of upgrading to a modern, more efficient printing system.
Disclaimer: Always refer to the specific manufacturer’s manual (HP, Canon, Epson, Brother) before performing hardware maintenance. Ensure the printer is powered off and unplugged when handling internal components to avoid electrical shock or burns from hot fusers.